Project 3
First Waypoint mission & Orthomosaic

I'm heading back to my test site - a local field, to try to fly a waypoint mission - ie: one of the pre-planned routes that the drone will fly autonomously. I've used Litchi-Hub to define the area, and I've been reading up on all the settings that could be used. Altitude / speed / camera angle / photo intervals / image overlap / etc. These will all take a bit of getting used to, but I'm not expecting to get it all right first time, so I will go with the basics and see what results I get.

During the route the drone will capture lots of overlapping photos and these will be used to create an orthomosaic - which is a high-resolution, geometrically corrected aerial map made by stitching together many overlapping photographs. It is measurable at a true scale and georeferenced to real world OS Coordinates. 

These overlapping photos can also be used to create 3D models, terrain meshes and so on, but for now I'm concentrating on getting a useable orthomosaic. 
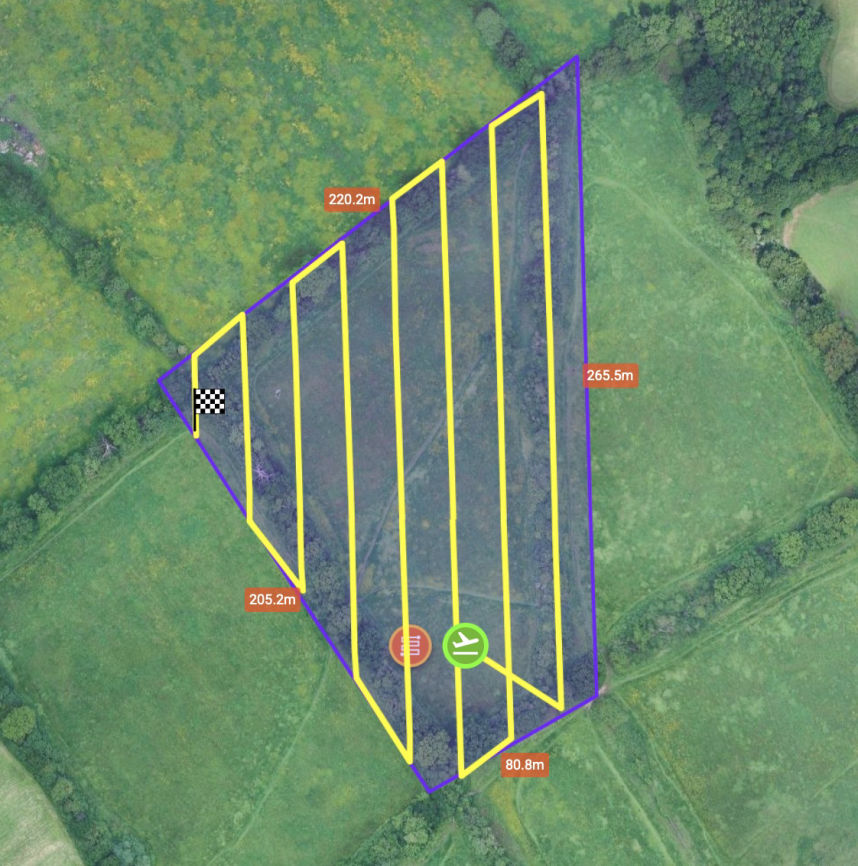
 

Waypoint Route

Sending it on its way

With the flight planned and exported to a .kmz file, I transferred this onto the remote control before leaving home. I can do this with multiple routes and keep them saved on the controller for repeated future use.

Once in the field, I got everything set and get that nervous feeling again. I'm sending the drone into the sky and leaving it to buzz around for 10 minutes hoping it doesn't get lost, or hit a bird, or have some other hiccup. 

Not entirely sure that i'm doing everything right, I load the waypoint route and press start. Up it goes, and straight away it gets busy, and by the wonders of technology seems to be following the route.

There were a couple of worrying moments where I couldn't see the drone in the sky, but I could see the live feed on the controller which at least told me it was still going. It was flying at 45m altitude which is perfectly normal (some would call this low) and is grey on a grey sky, so not really surprising there were a few moments when I lost sight.

Cockup

After about 10 minutes, the route was completed, so I crossed my fingers and hoped it would come back to me. It did of course, and landed back on the spot where it lifted off from (within about 200mm).

I was suitably chuffed, so headed home for a cuppa and to admire the photos...

Photos...? Where's the damn photos? The drone storage was empty.

Lesson learnt

I'd spent hours reading all about settings and waypoint planning. But i'd failed to look into actually executing the mission properly. Turns out you have to start the interval photo sequence manually!

No harm done. Back to the field, swap the battery and go again. This time fiddling with the camera settings first and starting the interval photos before take-off.

I guess I can do this once the drone is in the air, but this time I was happier to just get it going before it was too late.

It was a bit windy this time, and twice I got a wind warning on the controller, slight panic for me but no bother for the drone which carried on and took 188 nadir photos for me (nadir = looking straight down).

Success?

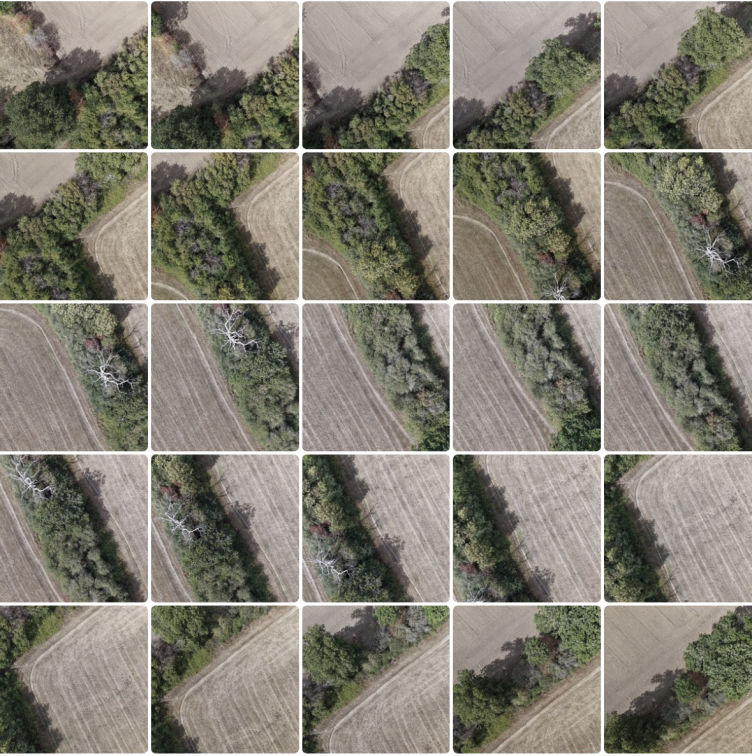
188 aerial photos successfully captured at 45m altitude. 

Another thing I discovered while investigating my 'no photos' mistake, was that although the camera can take 48 mega-pixel photos, but when in interval mode it is limited to 12 mega-pixel. I was a bit disappointed by this as I was hoping for that extra resolution and detail.

It does seem though that most people say height is the important factor for capturing detail, and in hindsight for the area I was mapping 45m was way too high. So I will soon return and repeat this mission at 20/25m to see how the detail compares.

But for now, I'm happily continuing with my first dataset.

Mobirise Website Builder

Processing

Downloading the photos from the drone is simple - although for some reason the drone doesn’t register anything in Photos on my MacBook (could be my very old machine) but browsing through the folder structure is fine to locate and copy them over manually.

For now I’m processing them on my wife’s iMac so I copy them to there and load up WebODM. I’m sticking to the default settings (as most beginners do) and so I load up the photos into a new project and set it running.

An hour later, it’s failed - out of memory - which worries me. This is 188 photos for a fairly basic orthomosaic, and I want to be much more ambitious with larger areas and multiple passes for 3D terrain models etc.

I check the settings in Docker, which is part of the WebODM virtualisation on the Mac, as there is a bit more RAM that can be allocated (16, up from the current 14). So I change that and run again.

This time it works, a great relief. But it’s given me food for thought about the spec of the new MacBook which I’ll be buying soon. More on that another time.

Promising?

With my first set of images processed I’m eager to see my first orthomosaic, and there it is - the preview looks promising, and the full size version… doesn’t.

Very small and very low resolution - which suggests to me the default settings for this particular output aren’t that great.

I look around at the other outputs that have been generated, and although I was only looking for a 2D image at this point, the 3D terrain model is quite impressive - especially as the photos were captured straight down (nadir). I actually don't understand how it can produce 3D from 2D photos - without closeup Lidar or similar, well, I'm here to learn. 

Orthomosaic

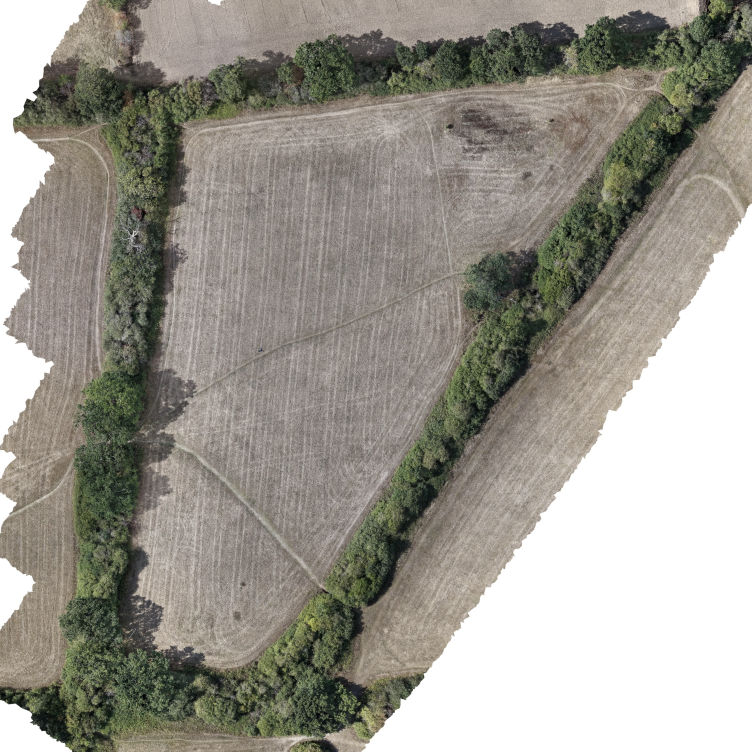
And here is my first Orthomosaic 3D model!

Loading 0%
Revisiting

I knew something wasn't quite right when I processed my first orthomosaic, and when I later tried to load it into QGIS I realised what was wrong - there was no geolocation! I thought it was strange that wasn't able to overlay it on a satellite photo!

I checked and double checked, and the location data was definitely there in the original photos. Took a while to figure out, but for whatever reason I had loaded all the photos in the Mac Photos app, and then dragged them out of there to a different location. In the process, and I don't know why, the photos had lost some of the geolocation data.

So, I've now processed again, and at the same time tweaked a few of the WebODM settings. The result is a much better orthomosaic, which loads perfectly into QGIS and has far better image quality. 

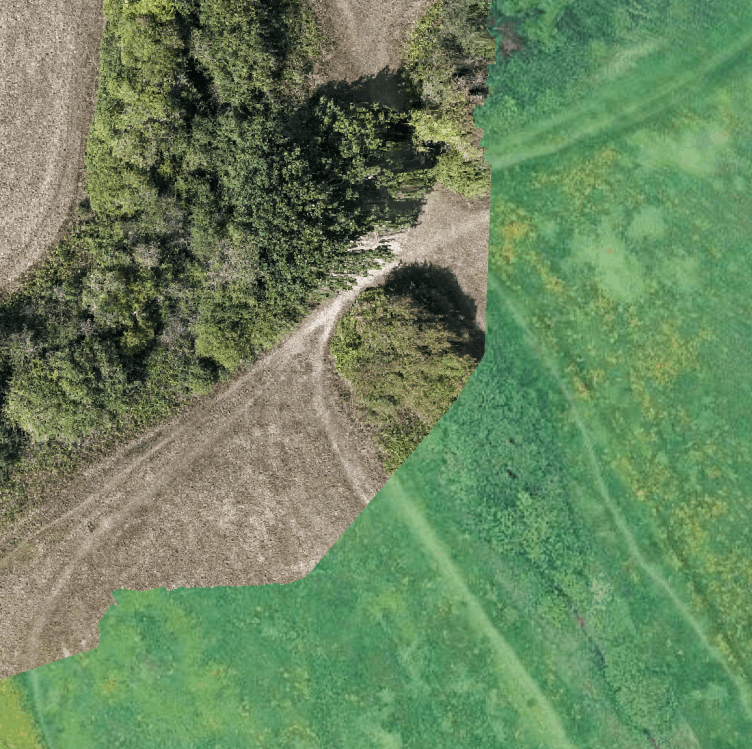
In the image to the right, we can start to see how an orthomosaic compares to an equivalent satellite photo. 

ortho VS satellite

Drop me a message...

© Copyright 2026 GISMaps.co.uk

‌

Offline Website Software